Long story short: Got a new 40″ LCD TV, need a TV stand. Didn’t want to spend $200 on some crappy box stand. Didn’t want to make a plain stand. Thought that laser cutting + bamboo + silly design ought to make a good combination. (This is the WTF is it thing…)
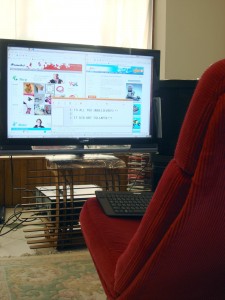
Read on for the build process…
Design
I wanted something different, unique, or maybe just weird and the first concept that came to me was this :
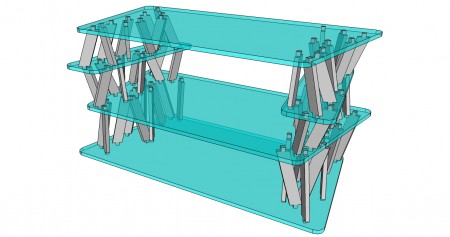
It was going to be out of MDF, with the plates painted black and the supports painted red but I figured I probably suck a painting when I got drawn in by the BAMBOO material Ponoko had on offer.
Bamboo is a wicked temptation, almost 3 times more expensive than thicker MDF and limited to 5.5mm thickness I figured I needed a new design. No need to show that here… lets just skip to see the result shortly.
Summary of design process (with links!) was to use Alibre Xpress to model up all the pieces and lay it as a flat pattern, export the flat pattern to DXF, convert it to SVG using Kabeja, check and apply Ponoko template using Inkscape and voila…
Assembly
The unpacking joy was already covered in a previous post which included a odd-ball of filler design as not to waste the material. A replacement piece was kindly sent from Ponoko to replace the one damaged in shipping (Thank you Ponoko). Here are all the pieces laid out on my snooker/table tennis table.
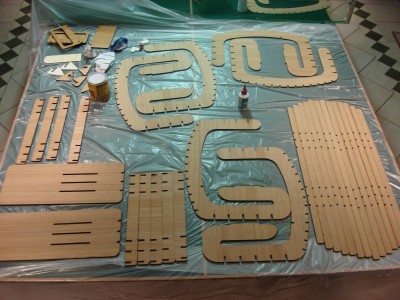
Remember to use protection dear…
If you looked closely there’s a can of ‘Danish Oil’ on the table which will shortly be applied to the wood to give…
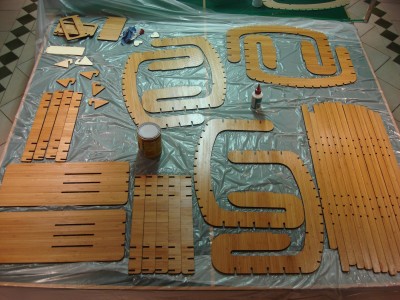
Shiny! Much prettier too 🙂 Wait for it to dry and flip it over to coat the other side and the process can continue!
Putting it together…
Piecing it together is as simple as slotting all the pieces together as the following photos will show.
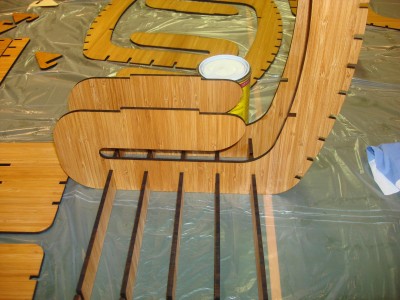
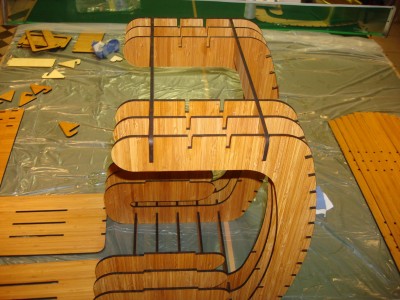
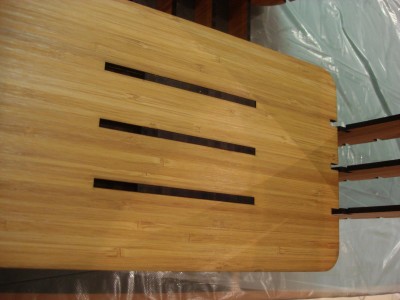
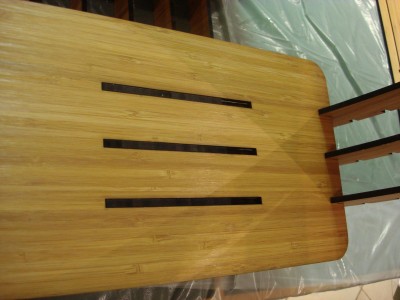
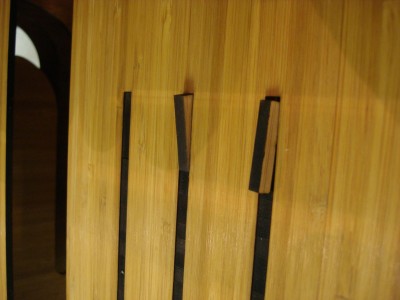
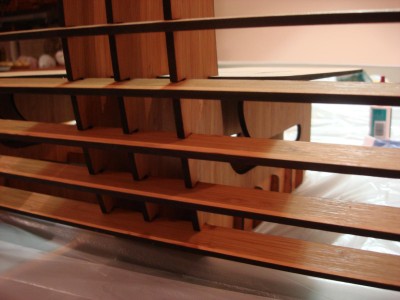
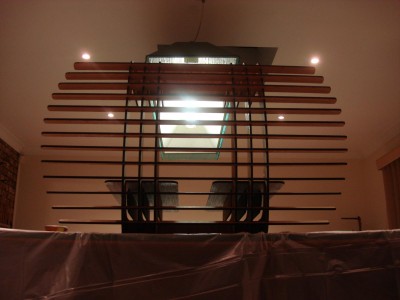
No sticky sticky yet
I’ve not applied any PVA glue yet at this stage but just wanted to test out if it can hold some weight. Even without any glue all the pieces are locked in and stayed all together.
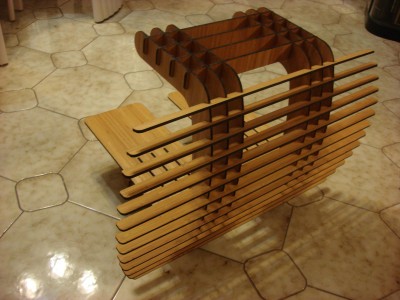
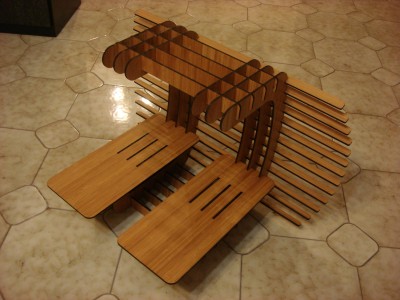
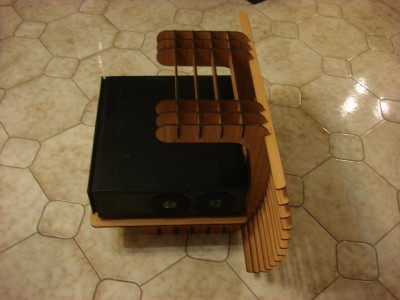
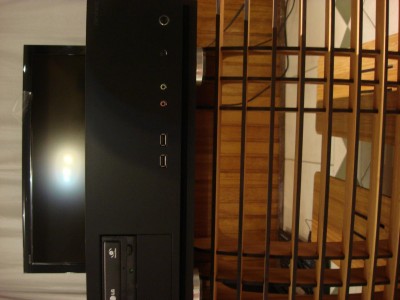
Final touches…
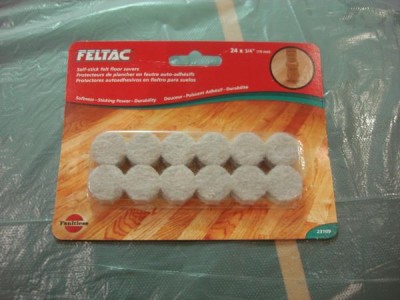
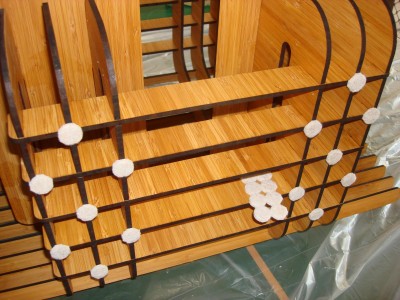
A bit of glue here and there and felt furniture feet on the bottom of the piece as not to scratch the tiles…
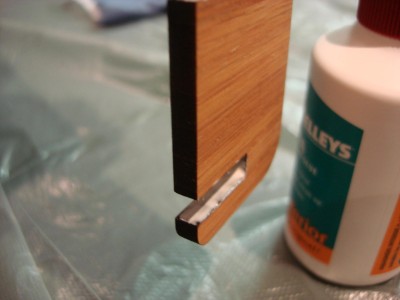
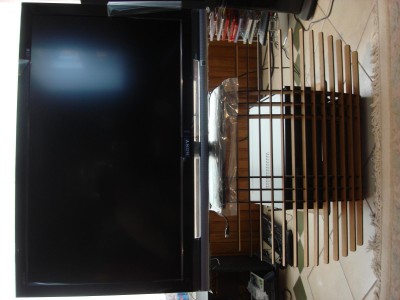
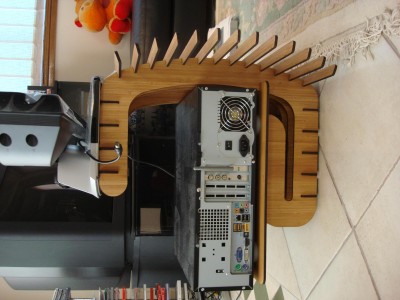
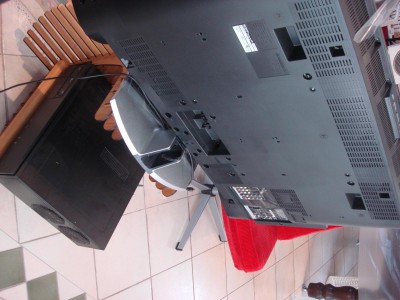
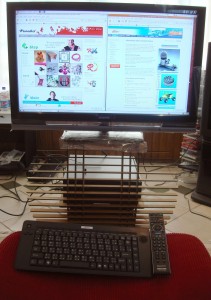
The moment of truth!
- It did not collapse. (I proved all those unbelievers wrong! Go zoom in on the first photo!)
- It is not too expensive.
- It was kind of fun and a great learning experience.
- It proves that someone (me) who hasn’t made anything with wood since higher school still can create something with these new tools.
- It is not too pretty/arty, but its different and unique and that’s good enough for me.
A plug for the great software and great service used to make this…
Hey JC, stand is brilliant, a real winner by my standards!!!! encapsulates all avenues of ingenious design – prob didnt cost u much to make either!! awsome stuff
Cool TV stand Madox, send me off an e-mail when you get the chance.
Jon
Founder of WoodMarvels.com
Awesome TV stand Madox – Do you plan to sell the plans/drawings on Ponoko?
Hi Scott, I never thought anyone would be interested. But I suppose listing it won’t hurt 🙂 Will put it up sometime this week!
A great job Madox, I will try to do it by myself, it’s amazing, I am very interested to do it.